Saturday, June 25, 2011

One Big Quilt and No Quilt Frame :(

This is definitely the largest quilt I've made, it is for a full/queen bed and due to it's size I wasn't exactly sure how I was going to make the quilt sandwich.  I really wanted to make the sandwich like I have for others, by preparing it on a flat surface and basting with tons of curved safety pins.  Since I don't have a large enough floor space or surface that I could use the safety pin method on, I looked into a few other options.
Option 1: Spray Basting- This method uses an aerosol adhesive which is quick and fast but also dirty.  I'd have to be very careful where I would do this process as it leaves residue on surrounding surfaces and you need to complete this in a properly ventilated space.  I didn't like the idea of introducing a substance like that in my home, so this method is out for me.

Option 2: Use a quilting frame which creates the quilt sandwich as you go along.  This sounds like a great option for someday, but I didn't want to make the financial investment on something I hadn't seen in person.  Not to mention, I didn't want to wait to get the frame, I was ready to quilt now!

Option 3: Head to the local quilt shop and use the classroom space to complete the process I'm most used to.

I chose option 3 and headed to the LQS where I pushed six tables together to get a surface area big enough for me to build the quilt sandwich.
 It took about an hour and a half to finish making the quilt sandwich, but good thing I was at the quilt shop, I ended up buying another two packages of the safety pins.
 Here's my favorite tool for working with the curved safety pins, a spoon with a V notch in the tip, this helps to close all of those safety pins without bruising your fingers.
 So, once I was done making the quilt sandwich, I ran into a few more challenges.  First, see the cute little guy below?  This is our cat, Buster, and he definitely lives up to his name, don't let the cuteness fool you.
 Buster LOVES to pull safety pins out of my quilts, here are some action shots to prove it.  He's very quick and actually does get the pins out, I have no idea how he does it.  The good thing is he doesn't ruin the fabric, that's just how skilled he is.

 The next challenge was doing the actual quilting.  I decided to use a walking foot and just do straight stitch quilting to follow the geometric shapes, but this quilt is so big it's a pain when the fabric is all bunched up under the short arm of my machine.  I really like my sewing machine, but this makes me envy some of the longer arms I've seen other people use. 
Another problem might be my dislike of the whole machine quilting process, I've been looking into hand quilting and planned to try it on a future project, but I may just scrap the quilting I've started on the Rain or Shine quilt.  The jury is still out on that one.

Saturday, June 18, 2011

Rain or Shine - The backing is done!

Remember this quilt from a few posts back?


Well I finally finished the back.  For this full/queen size quilt I didn't want to go out and buy more fabric when I had a ton of coordinating fabric in my stash so gathered a bunch of pieces I already had.  Some were fabrics used for the top of the quilt and others were fun pieces I just wasn't sure what I was going to do with.


I started by cutting pieces down the WOF in half and added a 6-7 inch panel as the needed width was more than two times the standard width of fabric (44-45")

Next, I laid out the pieces to decide what order I wanted them to be.


It didn't take long and the backing was complete.  I actually like this so much I plan to use it as the top of the quilt every now and then, it really could be it's own quilt top.


Here's the quilt top and backing all folded up together.....


Bonus pic, this is my brother, he was helping me take a picture of the completed backing.  He really didn't want his picture taken, but I took this one anyway ;)


Top and backing complete, check!  Next onto the adventures of quilting.....

Monday, June 13, 2011

Weekends are Wonderful :)


My goal for the weekend was to finish the front panel for the extension table bag I'm making, and I finished more than I planned.  I was able to finish the panel and make a quilt sandwich so it is all ready to quilt.


But tonight is the Bachelorette, so I must go, this will be the first episode I can catch without viewing a re-run online.

Happy Monday!
-Adriane

Thursday, June 9, 2011

Directional Prints Have a Mind of Their Own

So the last couple of nights I have been slowly working on the extension table bag with the Jo Morton fabric.  If you remember, I was a bit hesitant about the directional print.  My intent was to piece the fabric so that the directional print retained the same orientation.  Good plan right? Well.....the directional print had a better idea.
 Once I laid out a few blocks, I discovered that directional print wouldn't follow the same direction throughout the quilt, but would alternate between a vertical and horizontal orientation.  I think this actually adds movement to the block pattern and I like it better.

So on tap tonight is finishing these blocks (there are six total for the outside panel of the bag).  The picture below is where I'm at so far, but I think the goal is doable.
 After trimming the diagonals, I laid some pieces out to get a taste of what the finished block will look like in these fabrics.  I think I'm really going to like this bag!
Well, it's time to go warm up the iron, happy sewing :)

Tuesday, June 7, 2011

New Project

I had a wonderful surprise this week.  One of Mr. Fabric Addict’s co-workers is moving and surprised us by leaving a bag full of quilting magazines and stippling stencils at Mr. Fabric Addict’s desk.  Thank you Lou!!  Of course his male co-workers teased him a bunch, but I was very happy J  I haven’t been very satisfied with machine quilting and I have to admit that I am awful at stippling, so I have been thinking about trying hand quilting.  To get a taste, I think I’ll use some of these stencils for the butterfly border of my Rain or Shine quilt….. More to come on that!
So last night my mom came over and had fun looking through the quilting magazines while I started my next project, a bag to hold a sewing machine extension table.  I made one for myself already, but a few of the ladies that were in the Glacier Star class with me really liked my bag and wanted me to make them one too.  This one is for Wendy; she picked out some great Jo Morton fabric.  It’s kind of fun working on a project that someone else picked the fabric for!  I’ve used Jo Morton fabric in the past and really like the autumn tones.  If you look closely you can see the tan fabric is made up of many, many signatures.  This will be my first project with a fabric print made up of writing.  I bought a fat quarter once with writing on it, but I’ve been afraid to use it…. I’m not sure how I want to cut it up.

Sunday, June 5, 2011

Rain or Shine

I was able to make some progress on my Rain or Shine quilt so I wanted to share some pictures.  I can't wait to see the finished quilt!

I'm really into all of the grey fabric out right now, and so for the sashing I really wanted to go with grey.  However, when I got to my LQS I realized that grey was just not the right color for this quilt, so I'll have to plan another quilt for the future to satisfy my grey craving ;)  I finally settled on a Kona Solid in a turquoise color, I can't remember the right color naming from the bolt.  The turquoise color was perfect.  Most of the block pieces are in the pink/purple family but there are pieces that are in blues and greens, so the turquoise sashing will help balance out the quilt colors.


 I increased the size of this quilt from a throw to a full size and it was fun to watch it grow when I had it laid out on the floor as I added the sashing.
 Yep, I think the turquoise sashing was the right choice...
And now for the border, the fabric that started it all!  I bought two yards of this fabric since I loved it so much, even though I wasn't sure what I wanted to do with it...  After analysing the purchase I decided it would be better to use the butterfly fabric as a border since it was a strong directional fabric.  Once I decided to use this as a border fabric on a quilt for a full size bed I got nervous that I didn't have enough so I ran back to the quilt shop to get more and they were all out!  I knew if I practiced careful cutting I could get enough out of the piece for the border, but I postponed cutting the piece as long as possible.  
 In the end, cutting the border fabric went much better than anticipated.  I think I even have enough left to make some matching pillow cases for the quilt using the butterfly fabric as edging :)
 Quilt top finished!  I love how this turned out.  Next step, pulling fabric from my stash for the back, can't wait to see how that will look!
I just liked how the top looked folded right sides together so here's a pic...


Monday, May 30, 2011

Jelly Roll Bag Tutorial

This bag is the perfect get-up-and-go accessory for summer, and as promised, here is the tutorial for the Jelly Roll Bag I gave away for the Sew, Mama, Sew! May Giveaway day.  I hope you give it a try and let me know if you have any questions or comments on the tutorial.  I'm open to feedback, but most of all hope you have fun making and using the bag.  Enjoy!


Finished Dimentions:
9.5x11x3 inches

Materials:
1 Jelly Roll

Special Supplies:
Pinking Rotary Blade

Instructions:
Step 1: Pick 2 strips from your jelly roll for the handles of the bag and set aside.

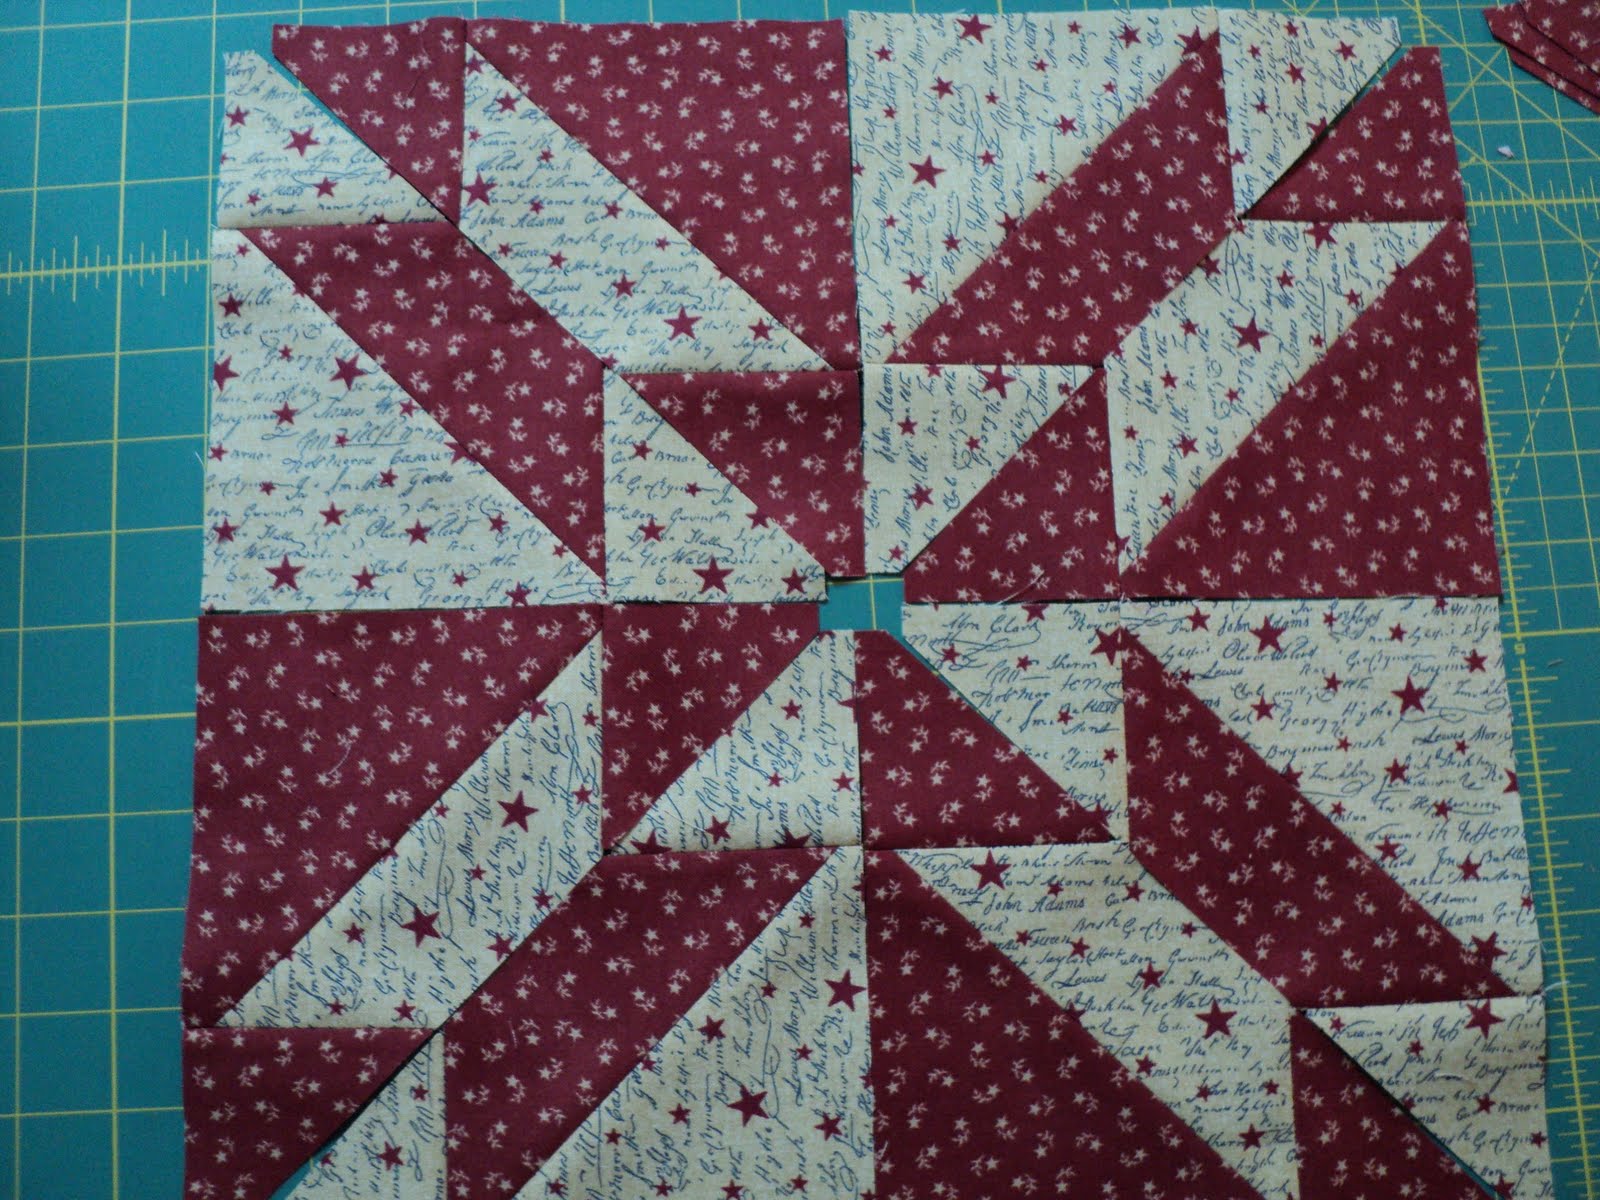
Step 2: Select 22 strips from the jelly roll for the body of the bag and do the following:
- Fold each strip in half lengthwise and press
- Stitch a 1/4" seam along the length of each strip on side with the pinking edging.


Step 3: Select 11 strips to be the vertical strips and cut these down to 28.5 inches.


Step 4: The remaining 11 strips will be the 22 horizontal strips of the bag. Cut twenty-two 13.75 inch strips.


Step 5: With the 11 vertical strips, chain-stitch a 1/4 inch seam on the edge of each vertical strip keeping each strip touching the next.


Step 6: Use a piece of masking tape and tape the 1/4 inch seam to a flat surface.  This will help keep the piece sturdy for the next steps.


Step 7: Weave each horizontal strip between the vertical strips, pinning in place as you go.  Once you have 4-5 horizontal strips, stitch a zig-zag stitch along the line where the horizontal strips meet.


Step 8: Once all the horizontal pieces have been weaved between the vertical strips, sew a zig-zag stitch along the edge of the first and last horizontal strips, vertical strips, and then between the vertical strips, securing all remaining strip edges in place.


Step 9: Using a pinking rotary cutter, cut along the original 1/4 inch edge.  Next trim the opposite edge for any vertical strips extending beyond the last horizontal strip.


Step 10: Fold the piece right sides together, pin and using a straight stitch, sew a 1/4 inch seam allowance along each side to form the bag.


Step 11: Trim the resulting seam allowance with the pinking rotary blade being careful to leave most of the seam allowance.


Step 12: Spread out the opening of the bag and fold one of the seams into the center of the bag creating a triangle for the bottom corner.


Step 13: Keeping the fabric trued-up, set a ruler perpendicular to the side seam and find the spot that is 3 inches wide.  Use a chalking tool to mark the line, pin the fabric together and then sew a strait stitch on the chalk line.


Step 14: Cut a 1/4 seam allowance with the pinking rotary cutter.


Step 15: Repeat steps 12-14.

Step 16: While right sides are still together, fold the top edge down making sure to match the placement of the zig-zag stitches and iron using lots of steam.


Step 17: Turn the bag right side out and pin the folded top edge into place.  Sew a zig-zag stitch along the original zig-zag stitching to hold the turned edge into place.


Step 18: Making the straps:
- Cut two strips of interfacing, 41x2 inches.
- Iron the interfacing in the center of the wrong side of the two strips chosen for the bag's straps.
- Next, iron each strip in half lengthwise.
- Place the two strips on top of each other with the pinking edge facing opposite directions.
- Topstitch 1/8th in. front he straight folded edge of each strip.
- Follow up with a decorative zig-zag stitch over each of the straight topstitch lines.
- Cut the strip in two to make two handles and finish the edges with the pinking rotary cutter.


Step 19: Pin the edge of the handle to the inside of the bag.  Following the outline of a square, topstitch around the square and then finish with a decorative zig-zag stitch.  Complete this step for all four handle ends.


Note: In sewing the handle ends to the bag, I sewed from the outside of the bag to make sure I was following the lines of an existing square so the stitching that shows on the front matches the existing outside stitching.


Congratulations, you've completed the Jelly Roll Bag!!!